Showing posts with label Candle. Show all posts

Saturday, 9 August 2014

Baker Ross...Just Add Adults!! :)


Hi all :)
This is the first of a few projects that I have done for the craft company Baker Ross. Now, most of us probably connect Baker Ross with children's crafting, but the lovely Katy approached me and asked if I'd be interested in using some of their products in 'Adult Craft Land' ...well...you know me!!!.........
Sooo....with a box full of goodies...I set to work ......


For this project I have used some papers from the 'Mittsommerland' Paper Pad to make the roses and leaves...and a Paper Lantern.
The paper pad is FAB!! It measures 24 x 34 cm and has 26 sheets. 13 designs and two sheets of each...BUT...the wonderful thing about it is....one sheet is 270gsm and the other 80gsm!! How brilliant is that?!!! I used the 270gsm red polka dot paper for the roses and the 80gsm green paper for the leaves.
The paper lanterns are in a pack of 4 and measure 12cm in diameter. They come flat packed with a metal center piece to keep their shape and a piece of gold trim to hang them up with.


 I have used a BATTERY OPERATED tea light in mine. Pleeeeeeeeeease do NOT use normal tea lights for risk of fire...well...certainty of fire!!


Therefore, mine makes a lovely little side light for those 'chill' moments.
~~~~~~~~~~~~~~~~~~~~~~~~


I have other projects to come so watch this space!!!
Have a fab weekend and Happy Crafting
Lydia xx

Wednesday, 14 May 2014

Tattered Candle...

Hi all :)
Just nipping in with a reminder of the Tattered Lace challenge  for May :) The theme is Romance & Roses and you can use any of your Tattered Lace dies this time.
I have used the beautiful Lace Carriage...Hidden Amore Edge...Lacy Rose collection...and leaves from the Rambling Rose die.Cut them from gold tissue to add to my candle x


These dies are so versatile...we'd all love to see what you do with them! AND...there is a chance to WIN a THREE month subscription of the Tattered Lace magazine too!!! 

Good Luck...and Happy Crafting
Lydia xx

Saturday, 12 April 2014

On your Wedding Day.....

Where has the first week of the Easter Holidays gone?? ...the last day of term seems like yesterday!!  Having said that, my poor Daisy has spent all of that week poorly.....not good having to use your school hols to be ill!!! Hopefully next week she'll be better :)

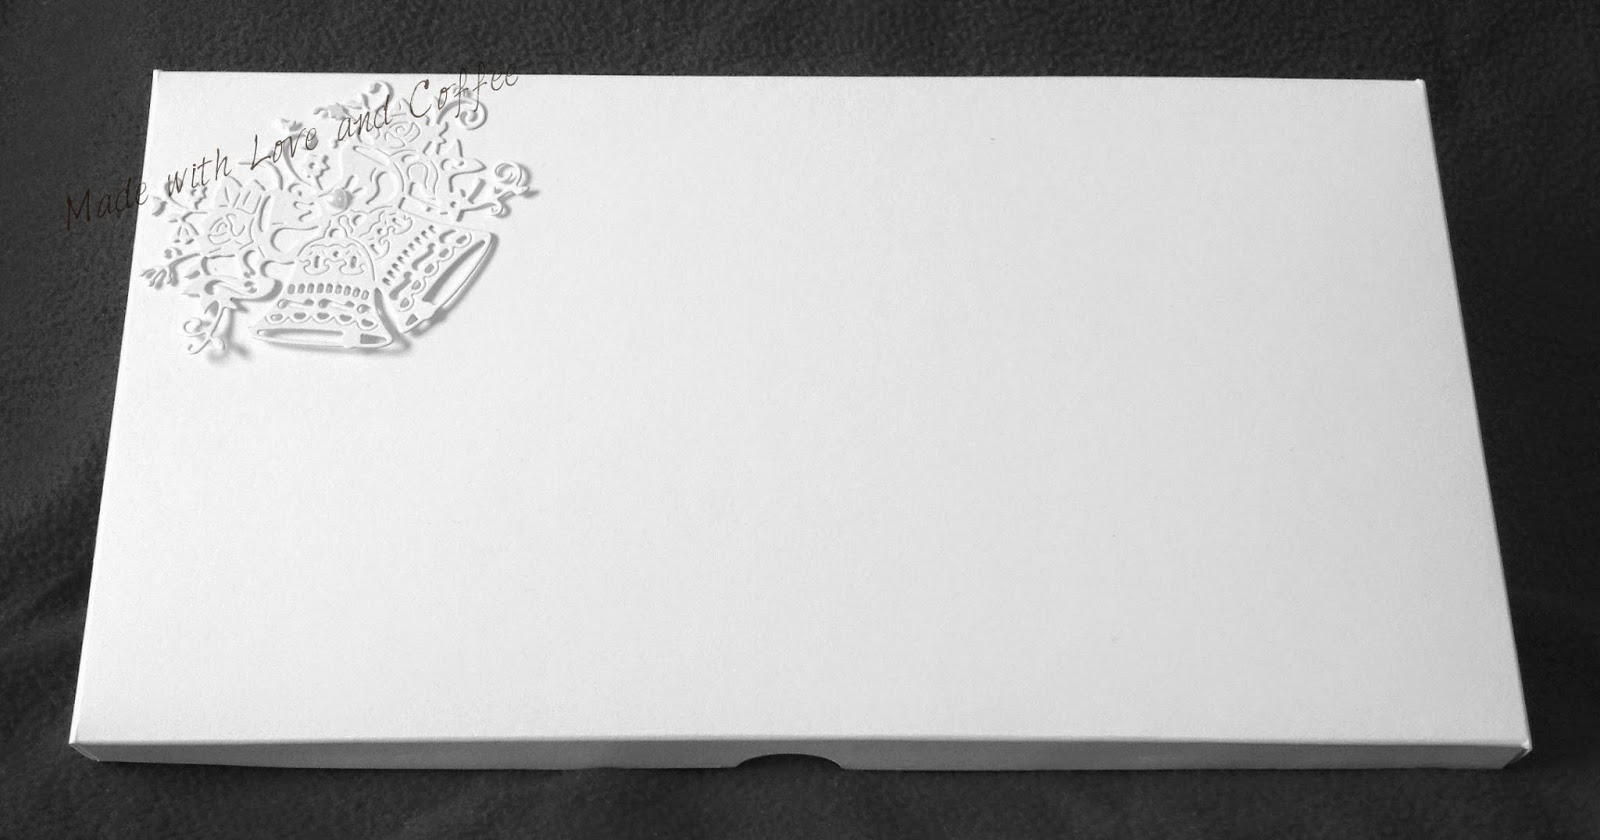
 Today I'm sharing with you a wedding card and matching candle. I was asked to make these for one of the members of staff at the school where the girls used to go...and I spent soooooo much of my time too!!! :)  I decided it needed to be a bit special...and big enough for all the staff to sign!

Mission accomplished......
 I made a gatefold card which had a 12" base and 6" folds. These had acetate 'windows' so that you could read the message and their details with the card closed....
I then needed to make a box for it to fit in!! 
...and this is the matching candle...
The centre of the card which held it closed....
(and in the true colours ) 

I wish Rachel & Sam all the best for today.....
.....and forever  ♥


Saturday, 7 December 2013

A Snowman set...


THAT time is fast approaching and if you're anything like me.....you're not ready!!!! :O  I don't know about you, but for me 365 days just isn't enough notice for Christmas!!! Eeeek!!!
BUT...Fab news!!!! Help is at hand!! The wonderful people in La Pashe land have jumped to our aid with the Christmas Box CD. There are heaps of images...digi's...toppers...gift tags...embellishments...sentiments and of course - decoupage on there, just ready for you to print and turn into something special for Christmas!
I've made a card/gift card holder...a candle and a little candy cane holder, which could be used as either a tree decoration or a table place name. All of these can be made quite easily with the images from the CD.
La Pashe also have an offer on at the moment where you can try their fabulous printing papers for FREE!!! ... HERE ...
So go...go...go.... you know you want need to!!!! :)
Happy Christmas Crafting All xxxx

Monday, 11 October 2010

Adding A Digital Image To A Candle...

Hi there...
Some of you may have come to know, that I like to get the most from my digi images! Much as I love my rubber stamps, you're limited with their size. I think many crafters feel that digi's don't give you the flexibility of rubber...but I am going to try and show you that they do! A digi image will give you a large image to print onto a T shirt or bag... and yet it will go small enough for you to be able to add a whole or part image, to the inside of your card for instance.
One thing I really wanted to be able to do was add a digi image to a candle, as I think the effect of matching candles and cards as gifts are just something else! So...last year I set about it. After many sheets of tissue paper, several attempts of rebuilding my printer after getting the torn, screwed up and jammed tissue paper out...I did it!
I mentioned to Elisabeth that I was making a candle/card set for the October digi launch, and asked if she'd like me to do a tutorial for the candle...'Yes please' came the reply! :) And since the launch I've had several people ask how I get digital images onto a candle, so here we go with an updated version using Elisabeth's gorgeous new October digi release ... Eden's 2nd Christmas ...
You will need...
A plain candle
White tissue paper
Wax or Greaseproof paper
A piece of average A4 cardstock
Low tack tape
A digi image
A printer
A heat gun
Oh...and colours and decorations!First, lay tissue paper over a piece of A4 cardstock, and wrap it over the edges, sticking it down with low tack tape to stop it getting caught in the printer! You can guess how I know that!! :)
Print your image onto the tissue paper in the same way you would onto cardstock.
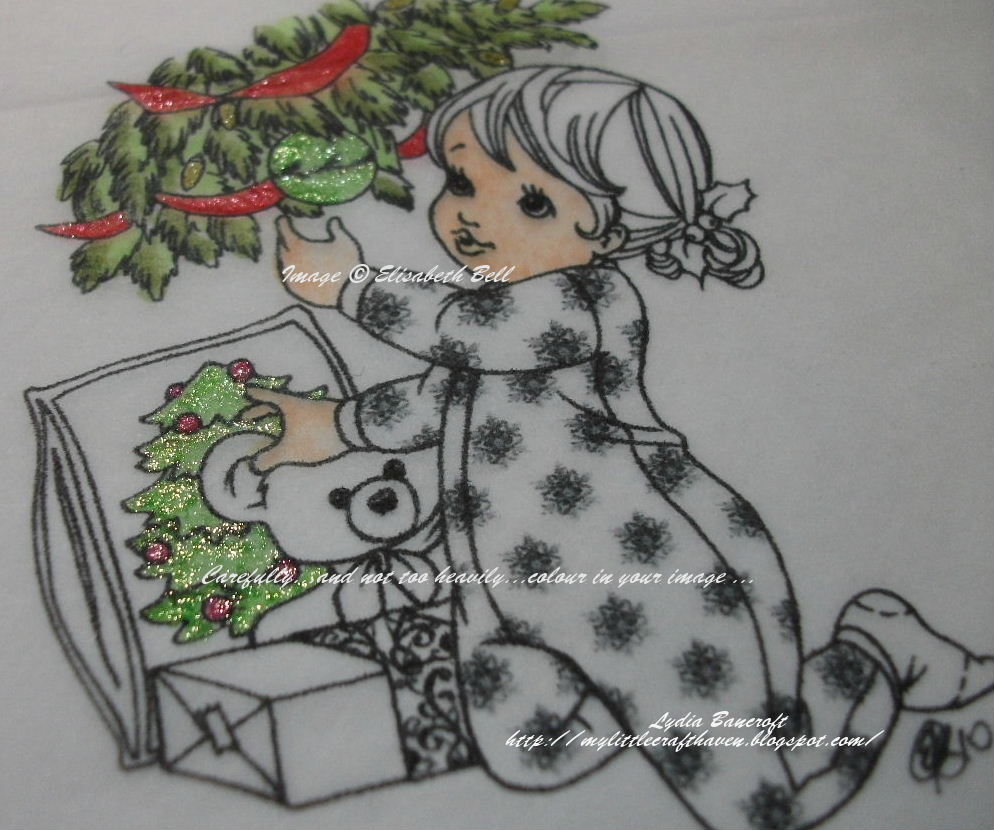
Gently colour your image, being careful not to get it too wet so as it tears...
I used Copic Spica and ProMarker pens on mine...
When you've finished colouring...cut it out...making sure you leave just a small margin of tissue paper around the image...
Lay the image over the candle at the place you'd like it...
Then lay a piece of wax (or grease proof) paper over the top...
Ensuring that the paper is long enough to wrap completely around the candle AND for you to hold onto to keep it tight.
Then wave your heat gun slowly over the image. Keep the gun moving at all times or you will cause 'dents' and 'runs' in the wax.
The image will take on a shiny look as you go...this is fine...just keep moving!!
Carefully peel back the wax paper and check to see that all the tissue paper has adhered to the wax. If it has patches, as it has in my picture by the arrow, that haven't 'disappeared'...then put the wax paper back...pull it tight and heat gently again.
Remove the wax paper completely when you're happy with it...embellish...and you're done!!!!
**You can add most things to decorate them, as candles usually burn down the centre and not down the edge...BUT...you must use with caution and not leave them burning without supervision.
I am in the process of making a gift box to put the candle in...so watch this space!!

Saturday, 9 October 2010

Elisabeth Bell - October Digi Image Hop

September has gone...the sneaky peeks have been and gone...and the wait is over!!! Elisabeth's brand new Digi Image for October is here...and you are just going toHeart Pictures, Images and Photos it!!

She is named Eden's 2nd Christmas...after Elisabeth's daughter...isn't she just so cute? You can find her to buy HERE... OR..........
This month we are hopping through the DT and GDT to bring you....a brand new image...2 lucky winners and a bit of fun along the way!!
Sooooo...if you'd like to try and win the brand new adorable image, then come and join us!! All you need to do is hop through ALL of the teams blogs....leave a comment on EACH and collect words from each member.
When you've finished, just arrange all the words and nip to the DT blog to leave your answer!!! ... Simples!!! ^.^
If you came here from the wonderful 'Lori's' blog, then you should be on track...but if not, you need to hop all the way back to Janiel's blog so you don't miss anything!
Now, I have the words... missing until
Should you get lost along the way, here is a list of all the blogs so you can get going again :0)
Have Fun!!! :0)

and back to the Digi Bells blog to leave your unscrambled message


Monday, 2 August 2010

Just Inklined Blog Hop!

Well here we are bright and early on a Monday morning, hop, hop, hopping! :)
Welcome to our blog hop at Just Inklined!
Grab a cuppa and a slice of toast, and if you've joined by kindly popping in to visit me...take a hop back to our host (and lovely boss lady! ^.^) Jak who is at the starting post. If you've just come from Karen then you're on the right track. We don't want you missing anything because we have images to be won along the way!
The theme that Jak chose for this hop is...Dots! Big dots, little dots, (no cardboard box today!! lol) dotty ribbon, dotty paper, gems, pearls...in fact...anything dotty, so you may be seeing dots by the time you've finished! :) I have made a card and matching candle (my tutorial for putting digi's on candles is here ) for friends of mine who got married yesterday. Now, being a civil wedding I was beginning to wonder what image to use...but fear not!!! Along came Just Inklined to the rescue with the perfect image!! This image is called 'Garter' and is available to purchase from here ...that is unless YOU are the lucky person who leaves a comment on this post and wins it for FREE!!!!!!!!!!!
All there is for me to say now is...Thank you for hopping by and hope you enjoyed your stay. The next stop is the lovely Debbie, who is our Guest DT member for August, and I just know she'll have something wonderful to show you x

I am entering this into

Simon Says - Going Dotty

Paper Pretties - Glitter

Just Us Girls - Wedding

Challenge Up Your Life - Celebration

Anything Goes - Punches

Sunday, 4 July 2010

** Blog Hop for Ginger Manning **

**HAPPY BIRTHDAY GINGER! ** Here's hoping you have the very best of Birthdays today xx

Today is the birthday of Mo Manning's Mum - Ginger, and to celebrate, the DT's have made and sent cards to her as she's such a fan :0)
Now, I couldn't resist the opportunity of sending her a candle too as she loved the ones I first made last year using Mo's digital images. The tutorial I made of how to put digi images onto candles can be found HERE.
I'm sure that Ginger loves all of Mo's images, however, Mummu is one of her absolute favs, so I've used Mummu's Laundry.
Now, if you arrived here by chance...welcome! :) If you'd like to start back at the very beginning, then hop over to Jak Heath and if you came here from Peggy then you still need to hop to Jak Heath as the final link :0)
Thanks for joining us, and it would be lovely if you'd like to leave Birthday Wishes for Ginger on this post xx
Wishing all our friends across the pond a very Happy Independence Day too!

Papers used - Stampin' Up!
Cardstock - SU!
Spotty Ribbon - SU!
Oval Punch - Stampin' Up!
Bead Pin - Made by Me


Sunday, 29 November 2009

Winter Wonderland...

The challenge at Winter Wonderland this week is to 'stamp a candle or decorate a candle holder'!! Yay! I love doing these ^.^
I have used a gorgeous Sugar Nellie stamp this time...and there are links to 'stamping' tutorials on the Winter Wonderland blog...but I quite often use digi images for my candles, so if you'd like a tutorial for using those, I have made one HERE ...

Monday, 23 November 2009

Sticky + Sparkle!


Morning all! Yes, it's the early hours of the morning again...but I must get up those stairs or I won't want to come back down them in a few hours time!! yikes! ;)
I've been playing with this absolutely adorable new image called 'Sticky' from Mo at Digital Pencil Too! I can't show you the card I made just yet as it's under wraps until Wednesday...but here is the candle I made...well...decorated!! It'll be one of a few I'm donating to the little one's school Christmas Fair on Friday :)
I'm entering this into this weeks 'Dare you to Digi Stamp' whose theme is 'Glitter' and also Creative Inspirations, whose theme is 'Sparkle'...with the added bonus of being sponsored by Mo herself!! ;0)
Hopefully you can see the glittery/sparkle :)

Image - Sticky - Digital Pencil Too

Thursday, 22 October 2009

Mo's Challenge #2

Morning!! :)
It's Thursday, so that means one thing...it's Mo's Challenge day!! Thank you to everyone who joined us for last weeks 'Colours of Fall' challenge...there were soooo many wonderful cards out there! Don't forget to nip back and check who the winner is, later on! :)
This weeks challenge, once again set by Sandy, is.... Anything but a Card...such an open playing field!
Rules are that you must use a Mo's image if you want to be included for the prize, but other than that...have FUN!! :)
I have decorated a candle (I made a tutorial for putting digi images onto a candle here ) and I made a matching 'mobile phone charm' out of shrink plastic :)
Images - Mo's Digital Pencil Too -

Monday, 12 October 2009

Digi Candle Tutorial

Hi one and all :)
I decided the other night to have a go at getting a digi image onto a candle! These make such gorgeous gifts when they're wrapped in clear cellophane with a matching tag.
Having only made these with rubber stamped images, I was determined to master it with digis! So....after several attempts...and a printer that had munched its way through many sheets of tissue paper...here we are!I was really pleased with the result, and after a conversation with the fabulous Mo, of Digital Pencil Too, I have done a tutorial. I hope you find it useful and if anyone manages to follow it and make their own, please leave a link on this post...I'd love to see them :)
Ok...here goes!

Ingredients...
A plain candle
White tissue paper
Wax or Greaseproof paper
A piece of average A4 cardstock
Low tack tape
A digi image - I've used Fairy Tabia and Christmas Fairy Holly from Digital Pencil Too
A printer &
A heat gun
Oh...and colours and decorations!

Method...
First of all take a sheet of tissue paper and attach it to the piece of cardstock using low tack tape to secure it. I found that wrapping over the side edges and taping down the ends (as in the picture) worked best.Make sure it is as flat and tight as possible without 'warping' the cs.
You're then ready to put it through the printer. My printer was set to print as standard ...I wouldn't suggest you make the ink too heavy or it may tear the paper.
They should look like this when printed...Detatch the tissue paper from the cs and cut out the image you want to use... colour...and cut around the image leaving a small margin. Next, lay the trimmed image over the candle in the place you want it to be 'set' ...and then lay the wax paper over the top of the image. Make sure it's long enough to wrap completely around the candle and that you have enough to pull it tight and hold on to. Now very gently wave the heat gun over the image, carefully watching it as it goes slightly shiny. Don't 'hovver' the heat in the same place too long or you'll get marks and runs on the candle. Peel away - slowly- the wax paper...making sure the tissue paper has adhered to the candle fully. If there are patches which haven't quite stuck...put the wax paper back on and gently heat again... And that's it!! ... It's now ready to decorate... Sparkle... ...Gems... ...and a ribbon!

LinkWithin

Related Posts with Thumbnails